Last year, I wrote a post about how to sell products on your blog using the Shopify Buy Button service. At the end of April, Shopify notified its customers that they no longer would be maintaining the WordPress plugin. As we all know, once a developer stops maintaining a plugin, it’s time to find a different plugin or a different way.

So does that mean you can no longer use this service to sell products on your blog?
The good news is that you can still use the Shopify Buy Button service.
Here’s how to set it up without the plugin.
Step 1.
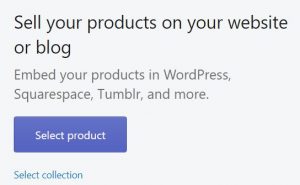
Log into your Shopify dashboard and select Buy Button under Sales Channels. Click the Select Products button or Collections link to get started.
Step 2.
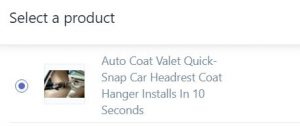
Choose which product (or collection) you want to create a buy button for.
Step 3.
Choose the template for the buy button. Going from left to right: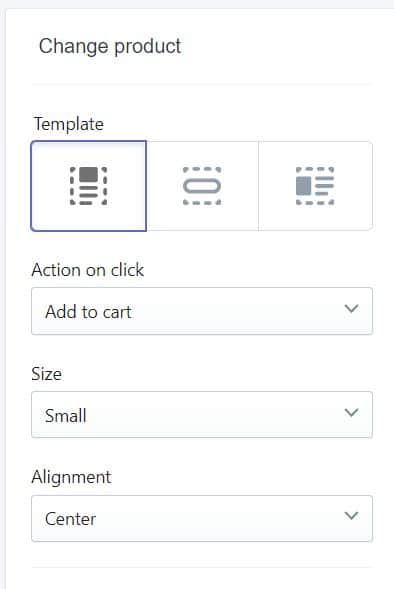
- Template 1 includes the main image, product title, price and buy button (use this one if your blog page or post just contains information about the product but no main image or price)
- Template 2 is just the buy button alone (use this one if you have complete details on your page or post including the price and you just want to add a button to buy)
- Template 3 is the full product description as set up on the product page (use this one if you want to use all the information you set up in your Shopify admin for the product including additional images)
Next you will choose what happens when the visitor clicks the buy button. It can either add the product to the cart or go directly to checkout. For a blog, you’ll probably want to go directly to checkout.
You also have control over the size of the image, text and button as well as the alignment of the text and button under the image for templates 1 & 2.
Step 4.
The next step is to style the buy button. Your options are:
- background color of the button
- color of the text on the button
- size of text on the button
- round the corners of the button (rather than having square corners)
- width of the button
- show or hide the quantity field (in case someone can order more than 1 of an item)
- text for the button (if you are going direct to checkout, you may want to say “Buy Now” on the button)
Step 5.
You can choose the typography of the information depending on which template you choose. You can choose the font for the button text, the product title, the price and description as well as the font color and size for the title, price and description.
Step 6.
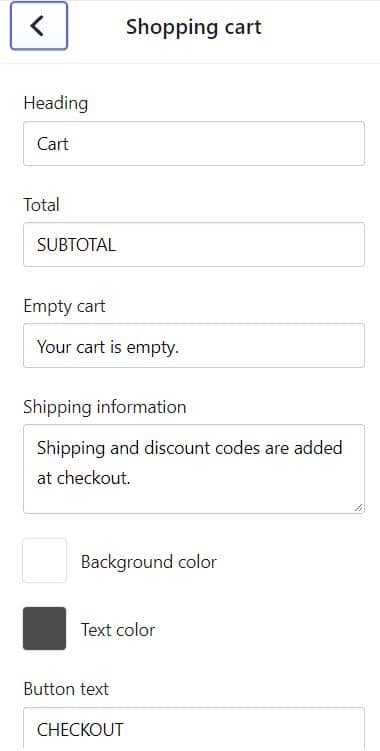 Next is to style the shopping cart. When you open the settings panel for the cart, it will slide out from the right side of the browser so you can see how it will look as you make changes.
- Heading — what do you want the title to be at the top. It defaults to “Cart”. You may want to put your brand or blog name (i.e. My Bonus Blog Cart)
- At the bottom of the cart is the total cost of the item(s) ordered. You can enter the word(s) to describe that total. It defaults to “Subtotal” which is probably good especially if you charge shipping or sales tax later.
- Next, choose what words to display if someone clicks the cart icon but it is empty. The default is “Your cart is empty”.
- You can provide shipping information if necessary
- Select the background color of the cart and the text color of the words. I prefer black text on a white background. Just make sure it’s easy to read.
- Finally, at the bottom of the cart is a button. Decide the text that goes on the button. Default is “Checkout”.
Step 7.
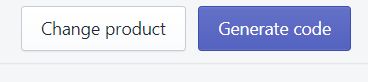
After making all your buy button and cart configurations, you just click to get the code to put on your website.
Step 8.
 A popup window will then display with the code that goes on your post or page.
- Copy the entire text by clicking the Copy Embed Code to Clipboard button.
- Go the Text tab of your post or page editor (not the Visual tab)
- Paste the text where you want the buy button to appear.
Here’s a tip if you like to use the Visual tab to create your posts and pages:
Create the entire page first and then decide where you want the buy button to appear and type the word “button” in that place. Then change to the text tab and paste the code where the word “button” appears being sure to remove the word “button”.
I know… it’s not as good as using the plugin
The plugin was so convenient but alas, I’m guessing Shopify decided it was too time consuming to change it every time they enhanced or changed the buy button or the cart. Despite the extra effort, I think it is still a great way to sell products from your blog and be able to sell products on Facebook for a very reasonable cost.